
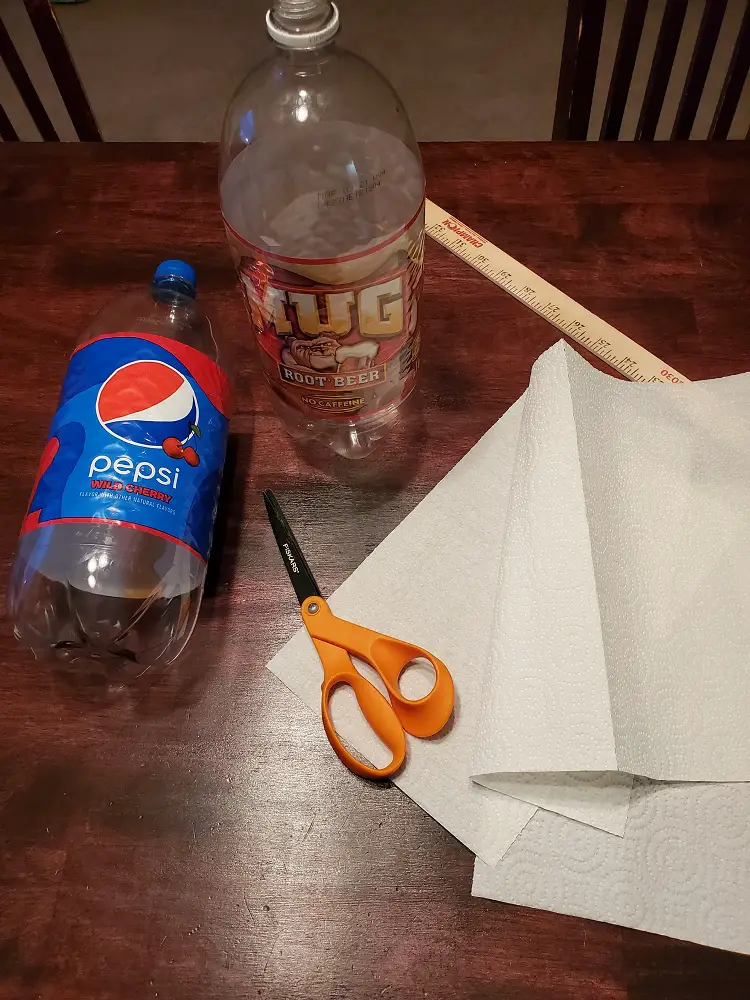
At The Grow Monster, we like to get a head start on our gardening by germinating our seeds as early in the season as possible. This will give them a small head start for when they are ready to be moved outdoors in the spring. We have discovered that this could be done in a few easy steps using just a 2-liter soda pop bottle, paper towel, seeds to be germinated, and some water. Follow this step-by-step guide with photos and you’ll be germinating your own seeds quickly and easily in no time!
Germinate seeds quickly and easily using a 2 liter bottle following these simple steps:
- Step 1: Prepare Bottle
- Step 2: Prepare Paper Towel
- Step 3: Place Seeds in Bottle
- Step 4: Transplant Seeds into Soil
Step 1: Prepare Bottle to Germinate Seeds
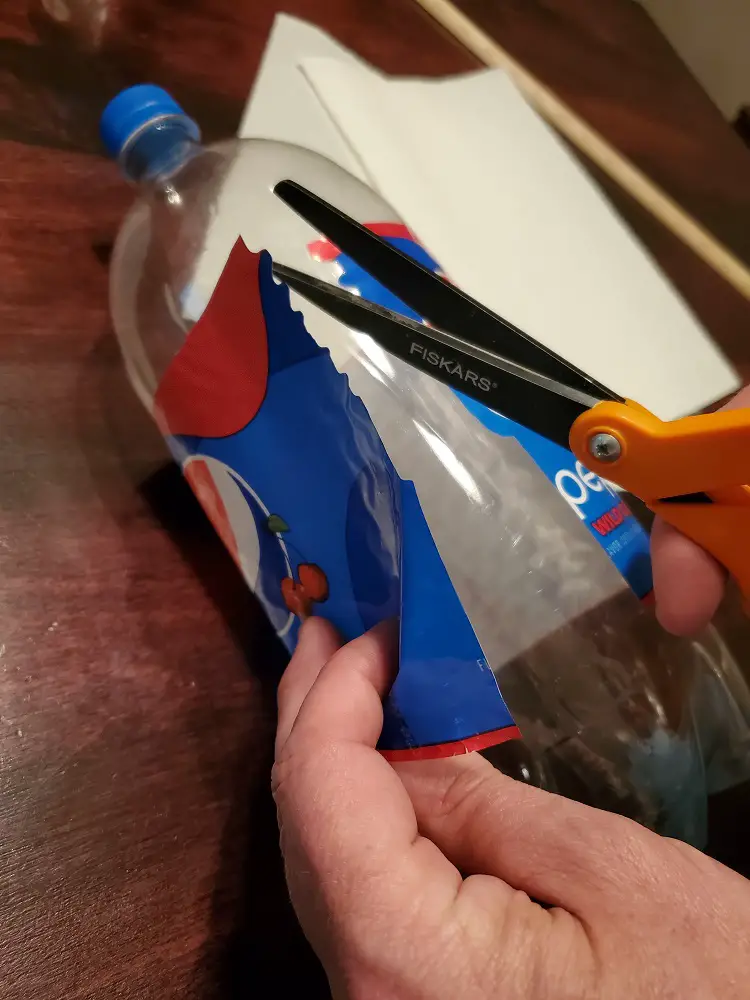
The first step requires you to find a 2 liter bottle. It must be cleaned out with hot water to reduce the chance of mold, algae, and other things growing in the bottle with your seed starts. With a pair of scissors, gently cut and peel the outside label off the bottle (see figure 1). Taking the peel off the bottle will allow the maximum amount of sunlight / heat into the bottle.
Using a ruler, measure 5.5 inches up from the base, notate with a marker and score the bottle with a box cutter or knife (see figure 2-1 & 2-2). Using the box cutter, knife, or a pair of scissors, continue to cut around the circumference of the bottle (see figure 3-1 & 3-2). When you are done cutting, you will have two pieces (see figure 4). Place the top section inverted into the bottom section. You will want to be sure that the inverted top section of the bottle is not touching the bottom of the base section (see figure 5). If the top of the bottle does touch the bottom, the bottle will be unstable and may tip over. Most 2 liter bottles are similar in their dimensions and measuring up 5.5 inches should guarantee that the top of the bottle does not touch the base.
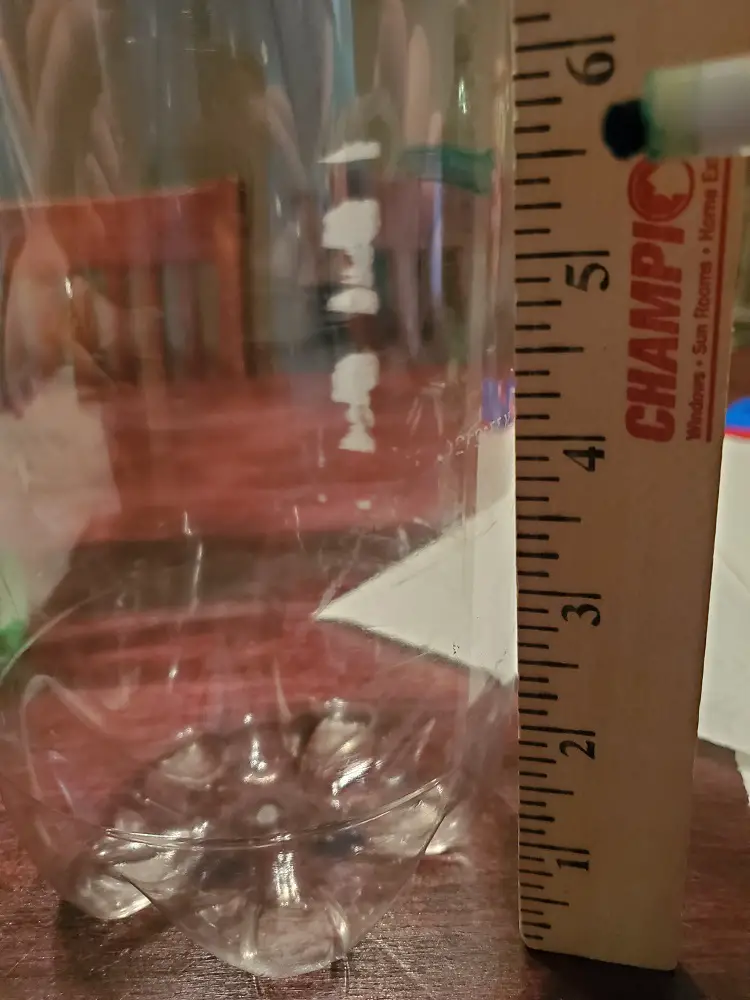
Figure 2-1 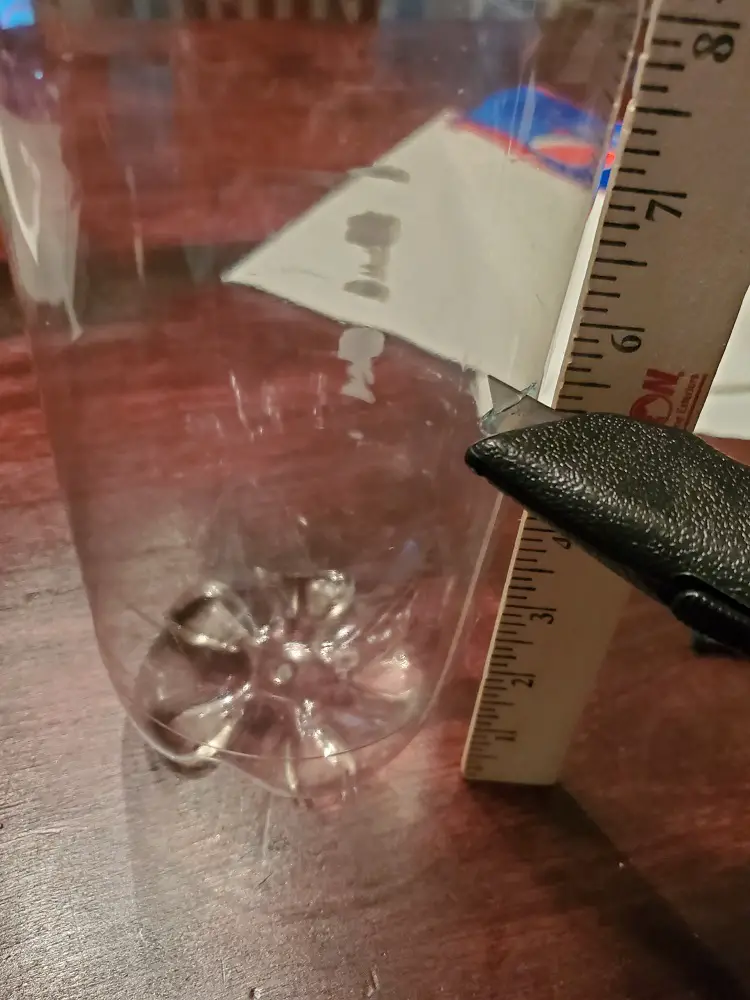
Figure 2-2 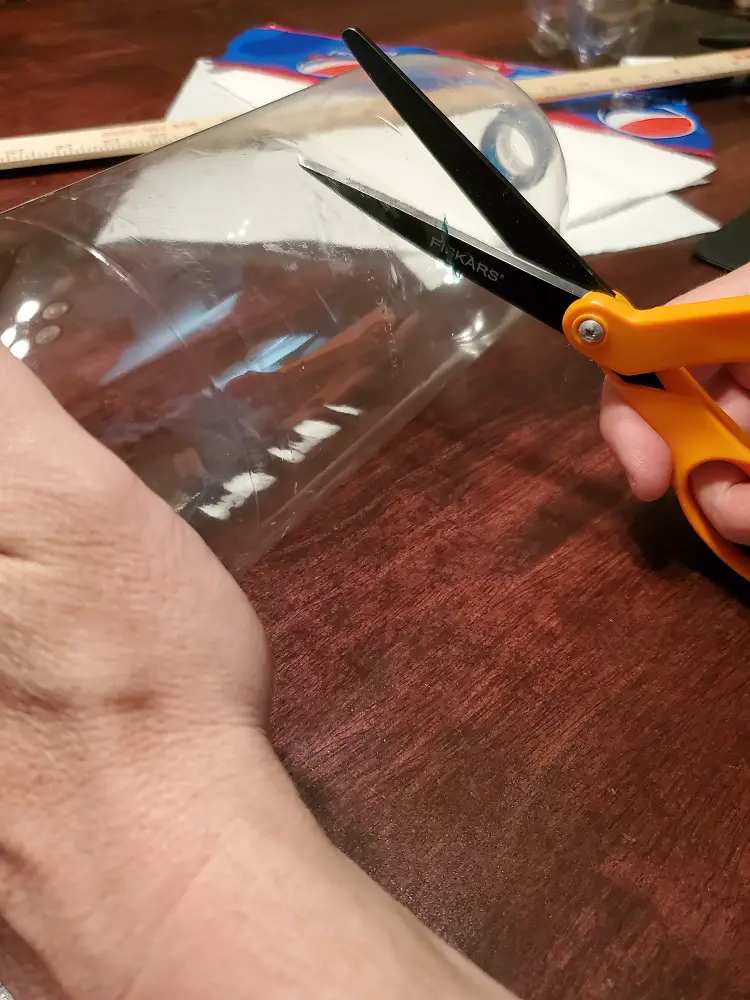
Figure 3-1 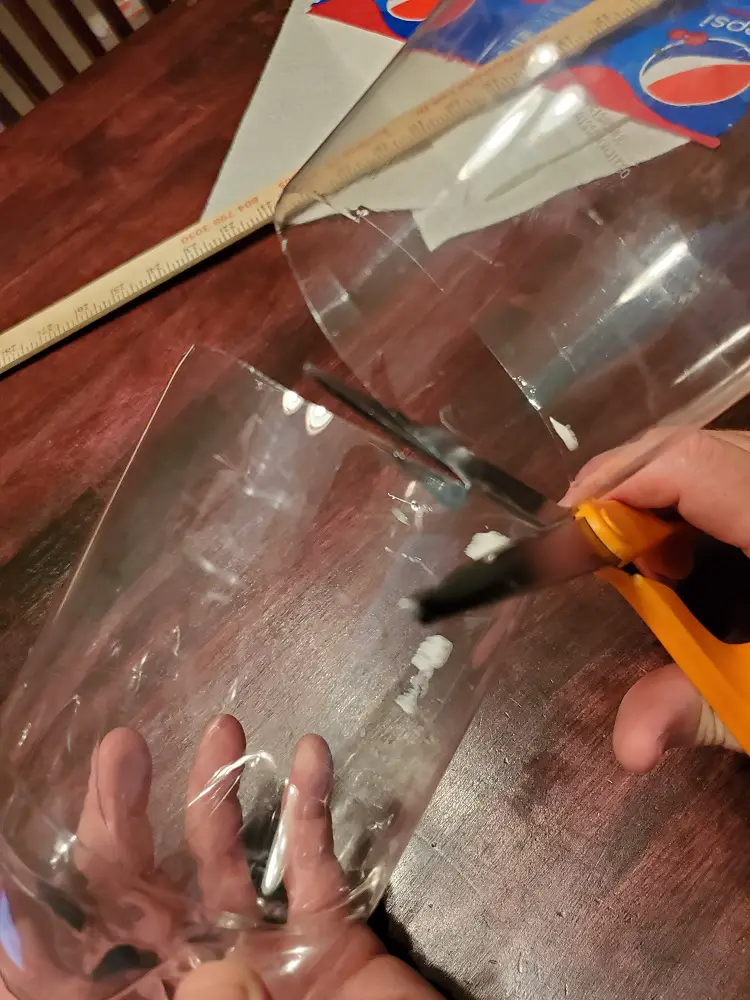
Figure 3-2 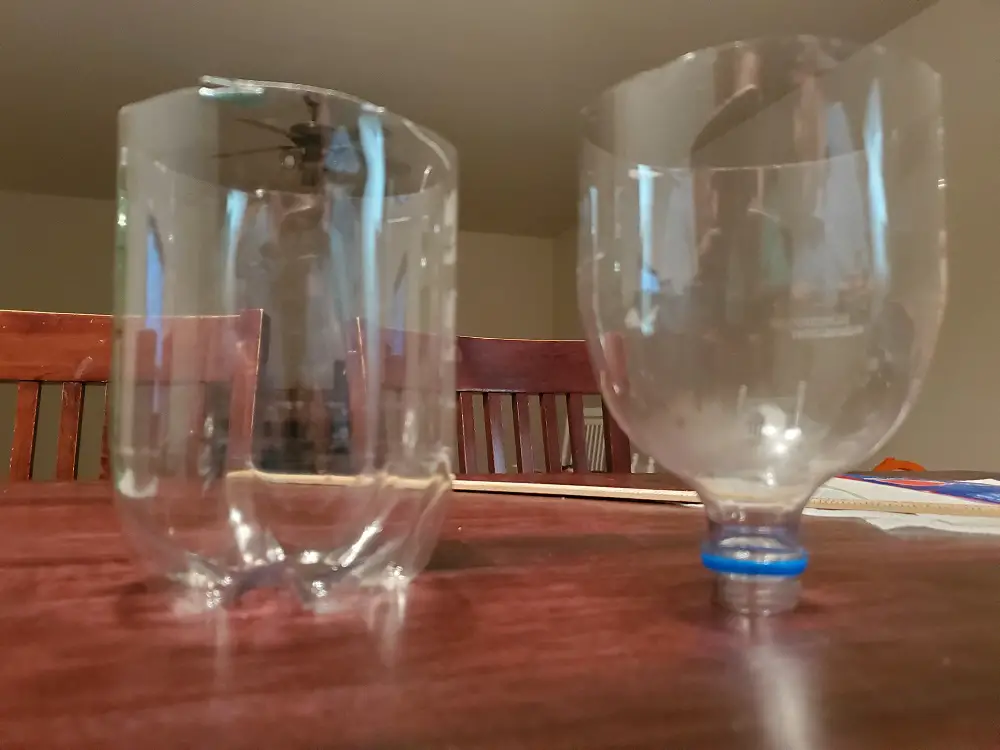
Figure 4 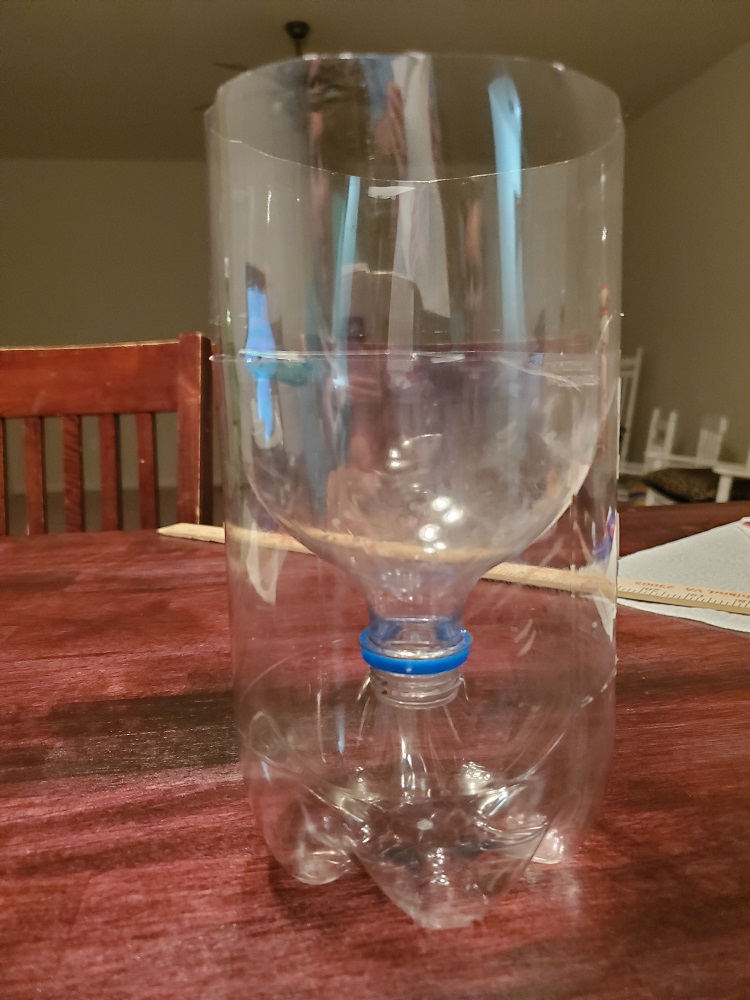
Figure 5
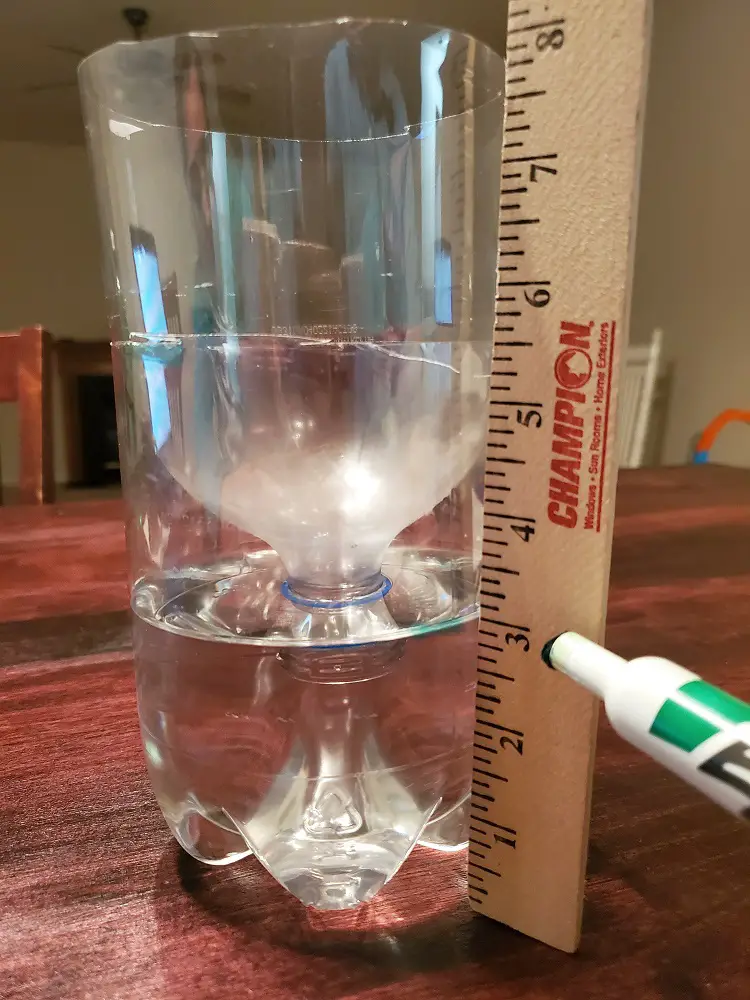
Using a ruler, measure up 3 inches from the base, and mark with a marker. Fill water up to this line (see figure 6). This will be the water level that you will need to maintain while the seeds are in the process of germinating.
Step 2: Prepare Paper Towel
This step requires the preparation of the paper towel. With a pair of scissors, cut a paper towel into two halves. The assumption is that the paper towel is square in nature. Some brands are now printing the paper towels into smaller rectangular shapes. In this case, you will need to pull off two smaller rectangular paper towels from the roll (see figure 7). Roll one piece loosely into a wick as shown (see figure 8) and place into the top opening of the bottle (figure 9). Fold the top piece down sideways into the bottle to create the shape of a “7”. Tamp down gently until flat. You will notice the paper towel should be slightly damp and tamp to the shape of bottle (figure 10). With the other piece of paper towel fold it into a square. Place this piece on a flat surface and lightly dampen (do not soak) with water using a sponge (figure 11). This square piece is what will support the seeds.
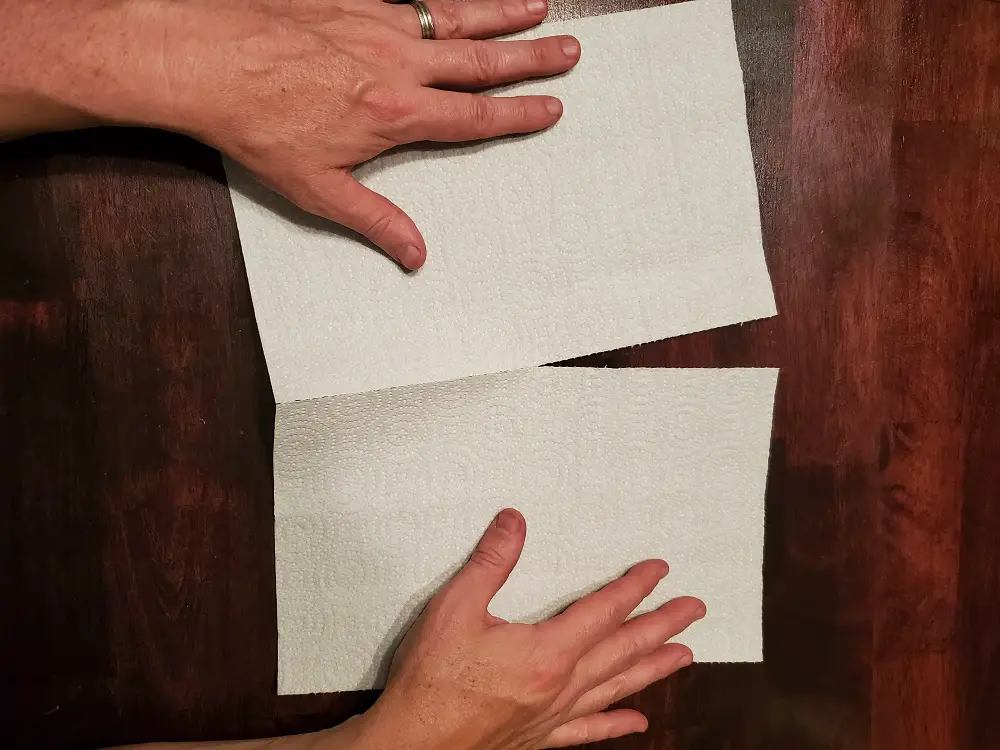
Figure 7 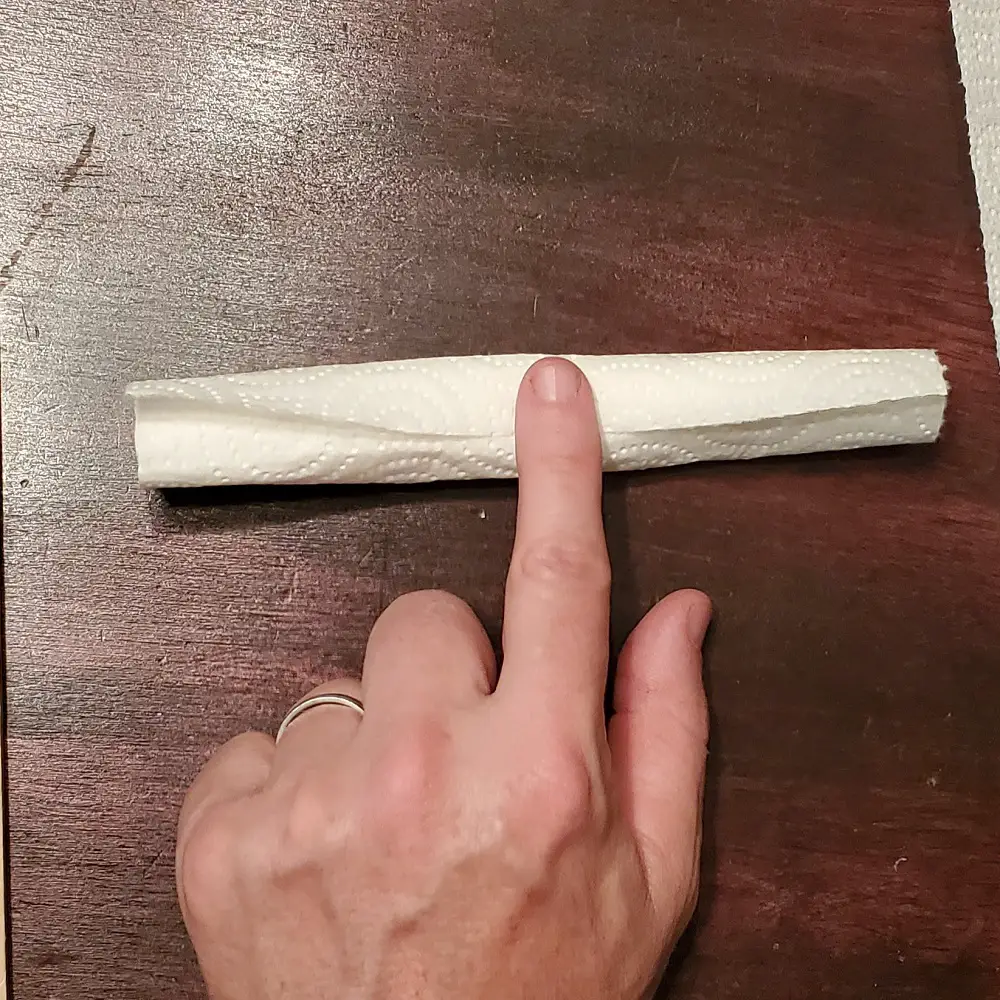
Figure 8 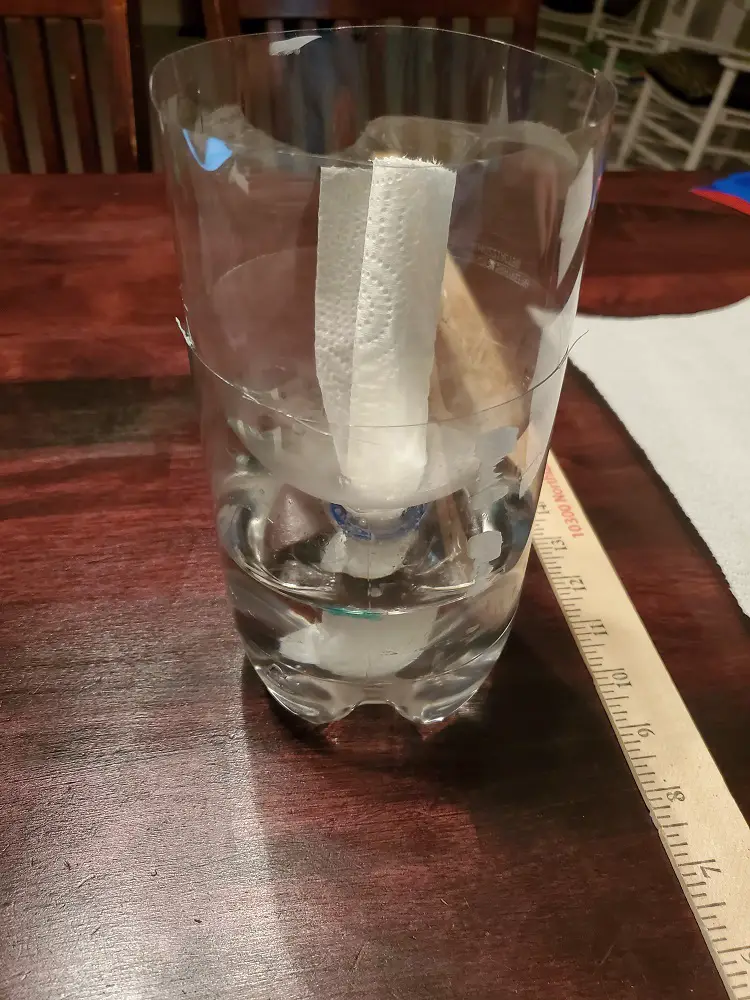
Figure 9 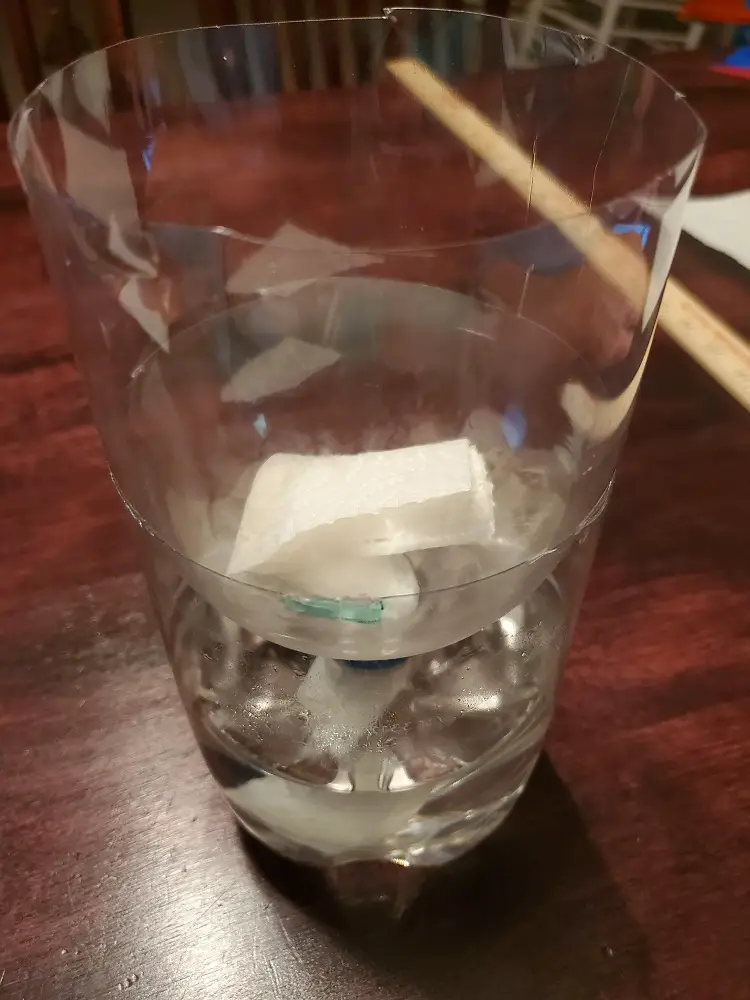
Figure 10 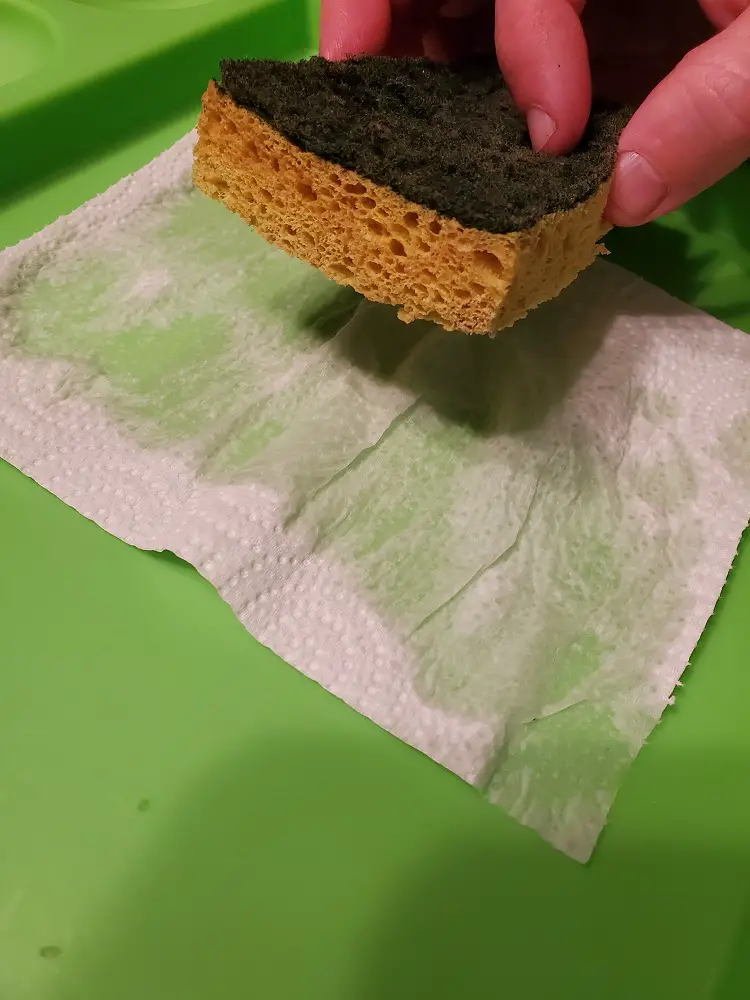
Figure 11
Step 3: Place Seeds in Bottle
This is when seeds are placed into the bottle. On the dampened piece of paper towel, gently sprinkle the seeds evenly over the paper towel. You may need to use the end of a pen or pencil to separate any seeds that have landed closely together (figure 12). When the seeds have been evenly spaced, gently move paper towel square with seeds into the bottle. There should be water tension between the seed and paper towel that will prevent the seeds from moving around too much (figure 13). It is important that the paper towel with seeds and the paper towel wick are in constant contact to maintain the moisture needed to germinate the seeds (see figure 14). Then the wait begins. At The Grow Monster -with some seed varieties- we have been able to germinate seeds prior to the 7-14 day period stated on the packet. This is always welcome. You can place in partial to full sun. Though, make sure the water level is maintained daily. If the water level is not maintained, you run the risk of dehydrating the paper towels and killing the seedlings prematurely.
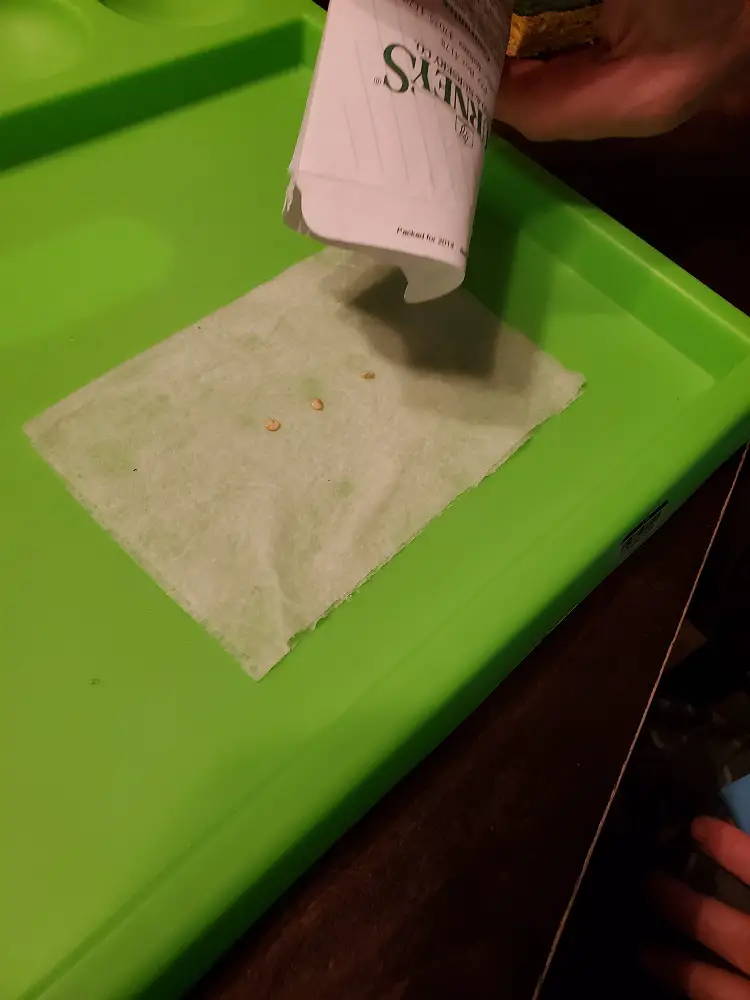
Figure 12 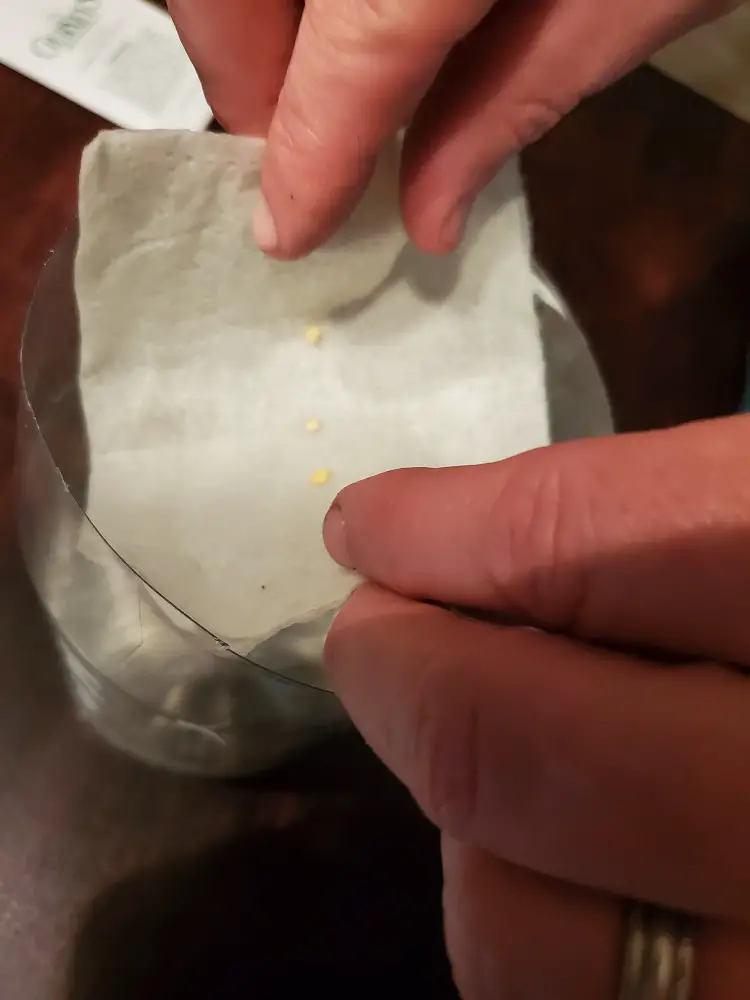
Figure 13 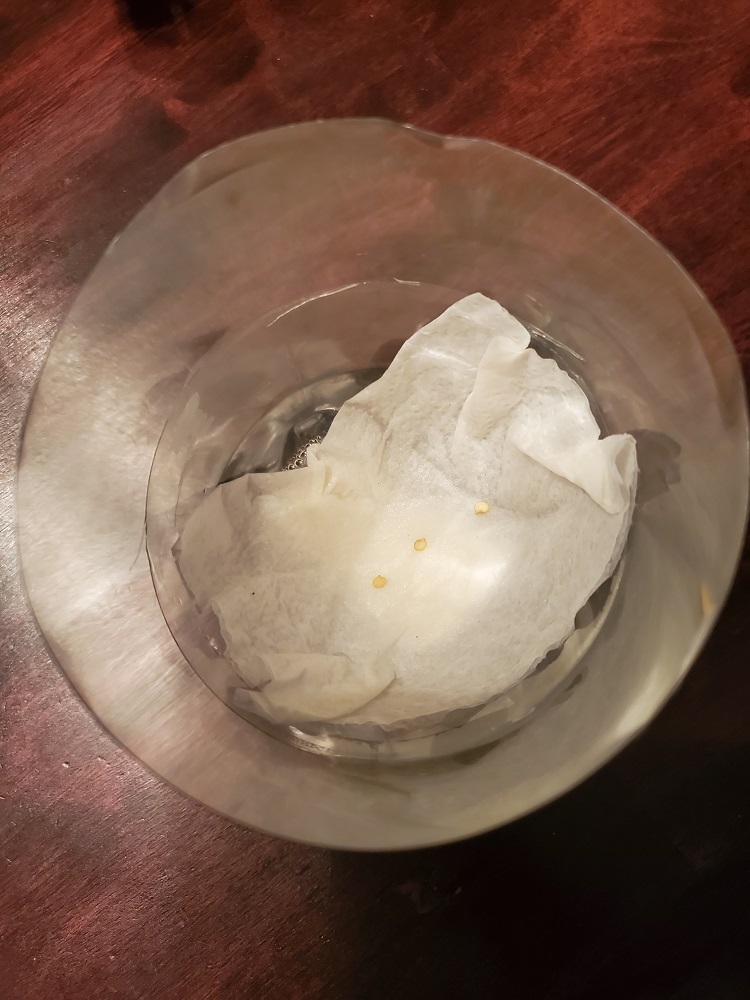
Figure 14
Step 4: Transplant Seeds into Soil
Transplanting is the final step. Although having the seeds grow in the bottle is fun to watch and experience, the seeds do need to go into the dirt at some point to get the proper nutrients that soil provides. Leaving the seedlings in the bottle over an extended period of time could lead to mold growth, algae, and could kill the seedlings themselves if not transplanted sooner. If the season is still too cold and seedlings have established roots and first true leaves, they should then be transplanted into larger containers with soil and left indoors with plenty of sun and adequate water. Gently pull the paper-towel square out of the container and place on flat surface. Depending on seed and seed sizes, some seeds may easily be plucked off of the paper towel and placed into a container with soil. Other seeds may require delicate handling. For those delicate cases, use a pair of scissors to gently cut out the plants individually (or in groups) from the paper towel. Most likely the seedlings have established roots (figure 15) into the paper towel and are using it as support. These root systems are delicate, so handle them gently (figure 16). Place these pieces gently and carefully into a container with soil. Be sure to cover the paper towel and roots with soil so that moisture is not lost. Follow this up with water and continue to keep the soil moist until the seedlings are able to establish themselves in the new soil.
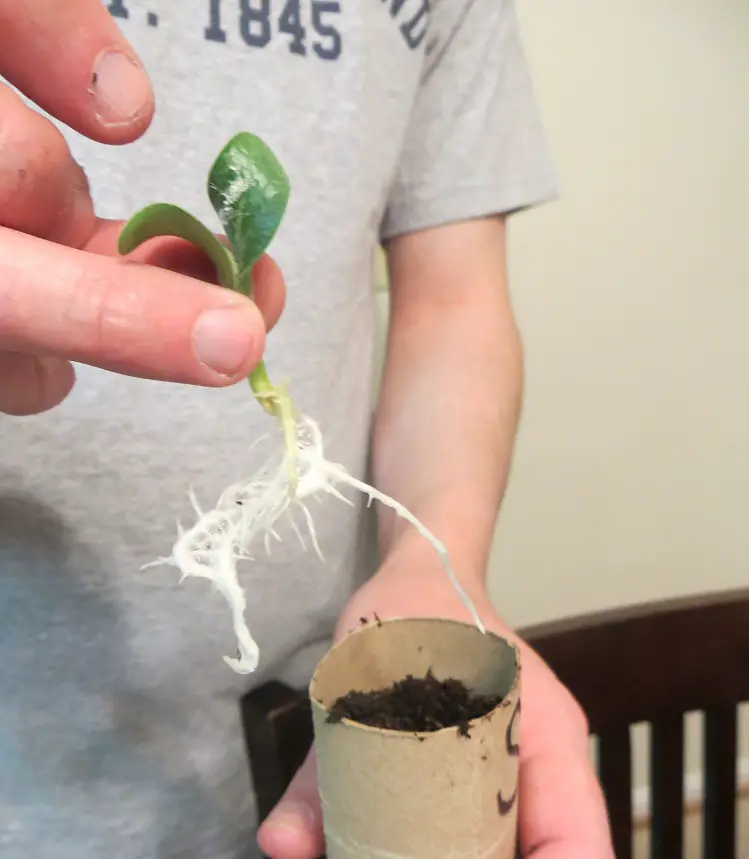
Figure 15 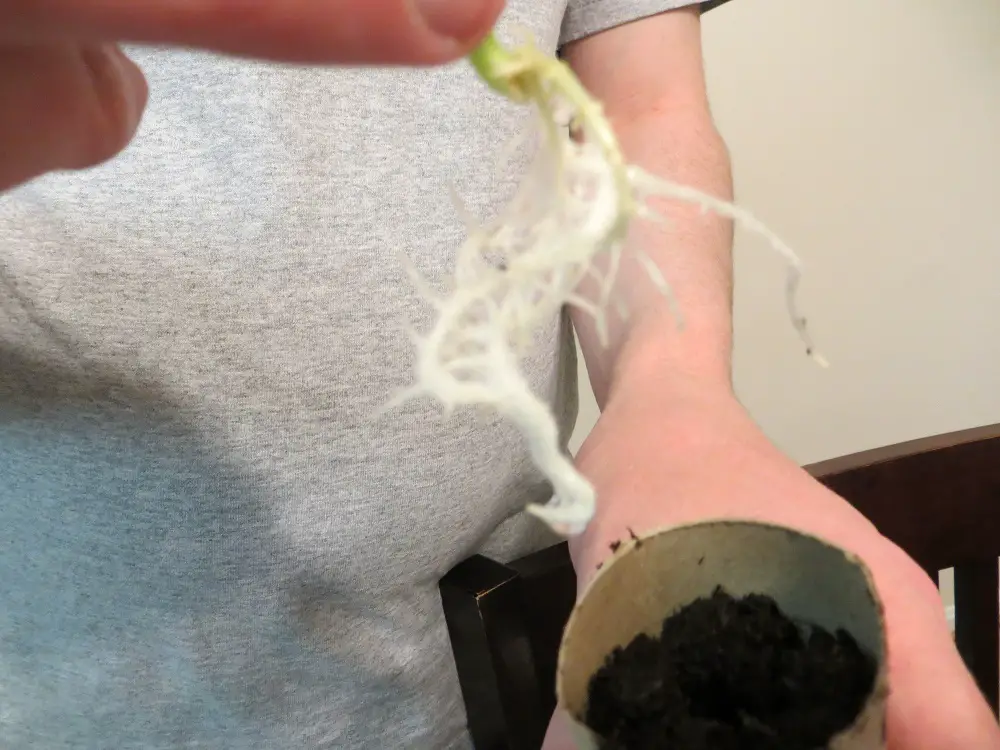
Figure 16
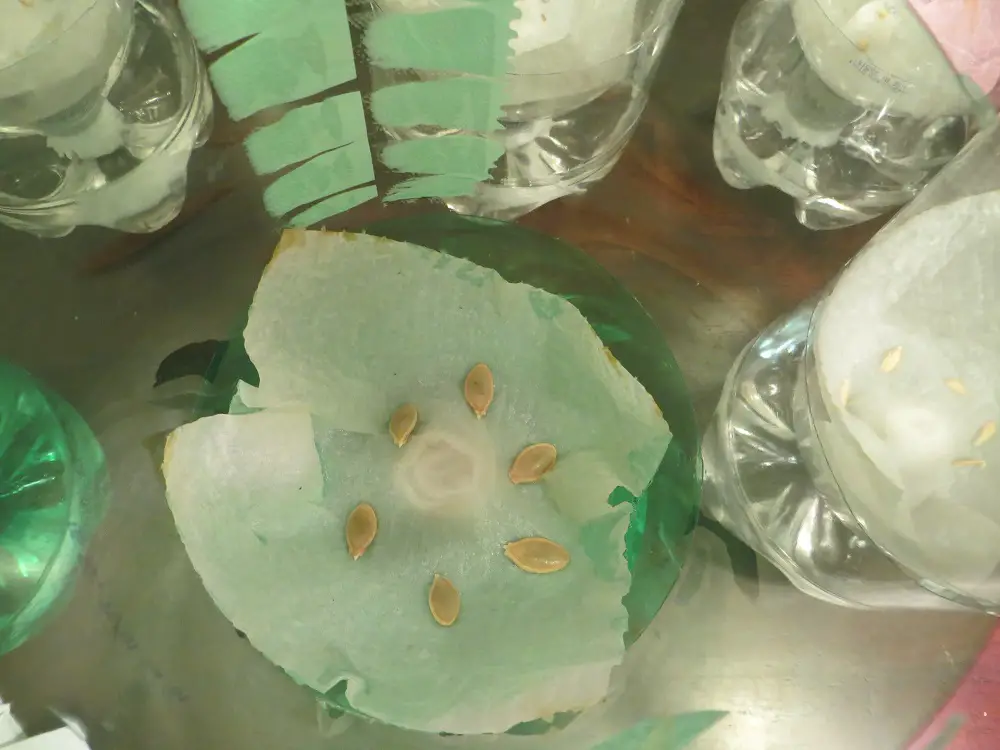
Zucchini seeds arranged around the paper towel in the bottle. 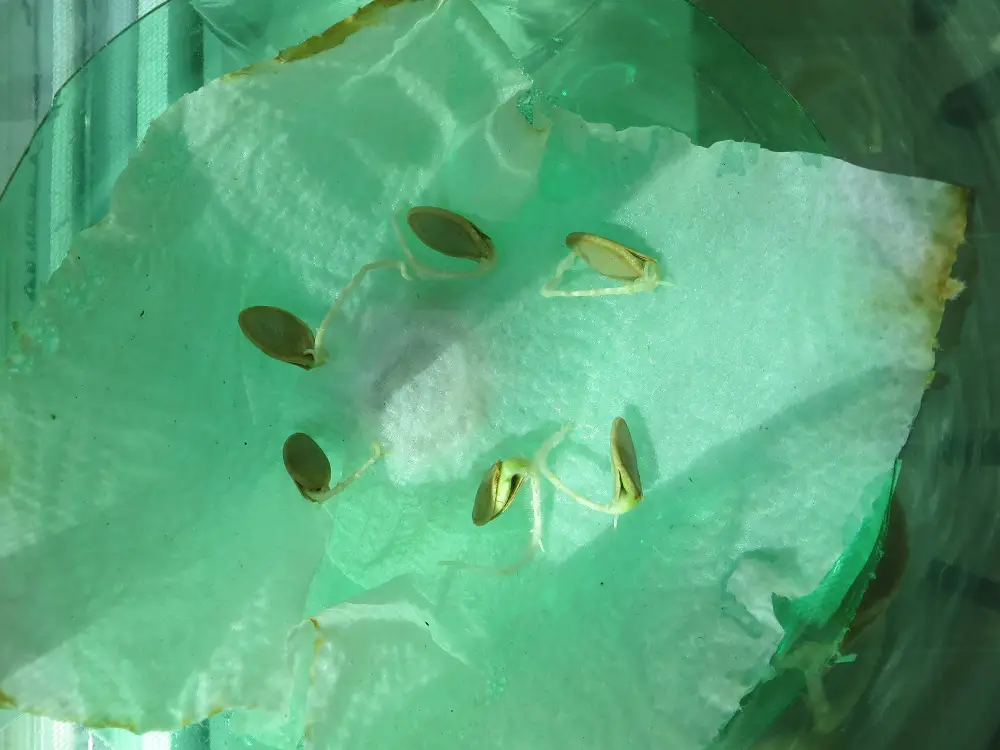
Zucchini seeds on wet paper towel in the bottle 3 days after germination. 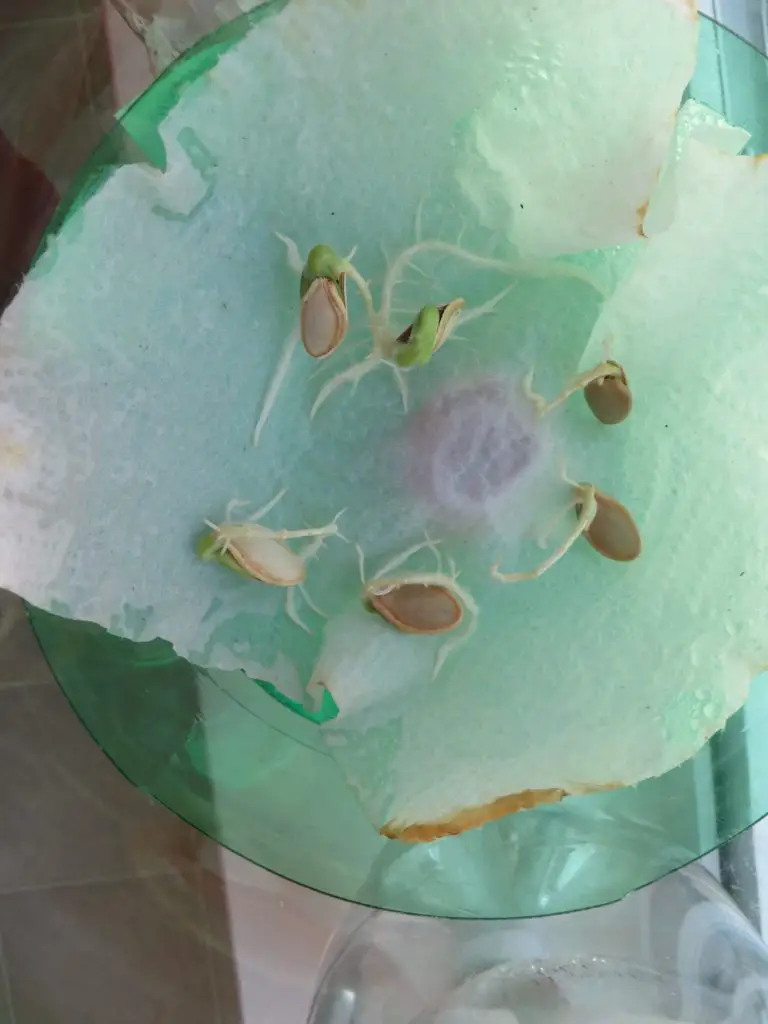
6 days after germination the Zucchini seeds already have roots growing in to the paper towel.
As we stated in the beginning, at The Grow Monster we like to get a head start on germinating our seeds quickly and easily. This method can be used by both beginners and experienced gardeners alike. It is a rewarding approach as you see your seeds sprout and begin to grow quickly. It is also a fun method for kids to watch, learn, and grow as a family. Go ahead and give this method a try. You can compare your seed germination times with this handy list from Extension and Outreach at Iowa State University. We are interested in knowing what seeds you are going to germinate using this method along with your experiences, so please leave us your thoughts in the comments. Let’s get growing!
Pingback: Lowe's SpringFest Garden to Go Kits - The Grow Monster
Pingback: How to Transplant Sunflowers: 6 Easy Steps with Photos - The Grow Monster
Pingback: 10 Easy Ways to Prepare A Garden for Winter - The Grow Monster
Pingback: How Often Do You Water a Poinsettia? Easy to Read 4 Step Chart - The Grow Monster
Pingback: How to Root a String of Dolphins in Water: Simple 6 Step Guide with Photos - The Grow Monster