We, at The Grow Monster, have had our fair share of raised garden bed experiences over the years. Like any experience, we continue to learn with trials and errors. We’ve learned that in the garden, nothing stays the same. We’ve also learned that it is important to start planning your raised garden bed repairs in the fall so that you will be able to focus on the plantings in the spring. If you didn’t have a chance for repairs in the Fall, any time is as good a time as any!
The Grow Monster has 8 simple factors to consider when repairing a raised garden bed structure:
- Wood rot
- Sides bowed out
- Bed location
- Pressure treated lumber
- Cement / cinder blocks
- Paint and sealed with top coat
- Tree root barrier
- Trellis and fence structures
Conditions of the raised garden bed structure, like the seasons, are always changing. Some changes happen quickly, whereas other changes to the raised garden bed structure will happen more slowly and gradually over time. It basically comes down to providing the the adequate maintenance and repairs necessary for the continued use and enjoyment of raised garden beds. Read on to learn more about each of the factors to consider in repairing your raised garden bed.
Consider Wood Rot When Repairing a Raised Garden Bed Structure
For raised bed structures made out of wood, be sure to check for pieces that are rotting either from water damage over time and/or from insect infestations. Wood will inevitably break down over the years and different types of wood will last longer or shorter than others. For example, Cedar will last a very long time whereas Pine will only last about half the amount of time as Cedar. (This also means Cedar is more expensive than Pine)
You will want to replace the rotting and broken pieces to maintain the integrity of the bed. Wood can be replaced with non-pressure treated lumber. You can protect the wood by applying a non-toxic wood treatment and water proofing agent that will extend the life of untreated wood against sun exposure, fungus, and moisture. One application of the treatment should be expected to last the lifetime of the wood.
Consider Whether The Sides are Bowed Out When Repairing a Raised Garden Bed Structure
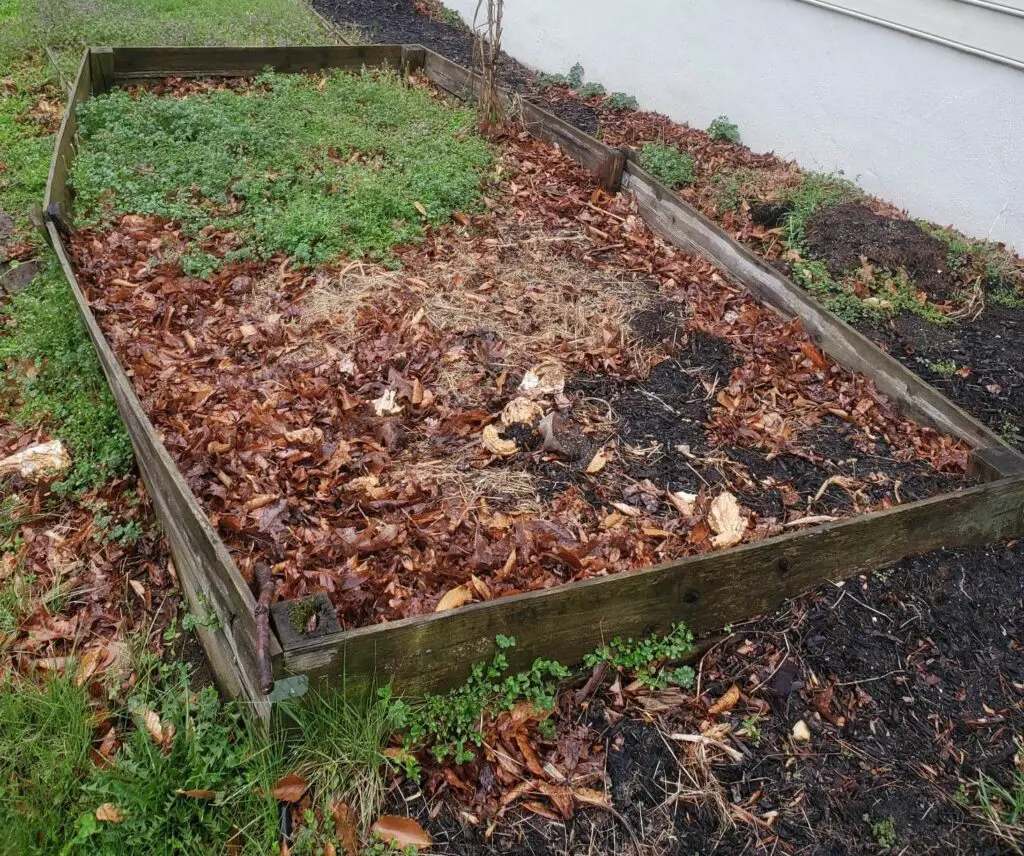
If your raised beds have bowing sides – you will need to correct this as you prepare the raised garden bed for spring. This usually happens with raised beds made out of wood. When you installed the beds initially, everything was probably perfect. The raised garden bed was a perfect rectangle or square. However, after a year or two -depending on the kind of wood used- the sides of the bed may begin to bow outward. This is caused by the pressure of the soil pushing against the sides of the raised bed. It is also exasperated by any foot traffic taking place within the raised bed itself over time.
Tip to Remember:
To rectify this problem, you will need to add additional support into the ground by staking the support pieces deeper into the ground, pulling the bowed pieces back into place and attaching them to the support pieces. You will want to pull all excess soil away from the walls of the raised bed to provide room for pulling the bowed pieces back into place.
Alternatively, you can use a flat metal mending bracket to fix the bowing wood pieces as you are repairing a raised garden bed structure. These are easy to use and you just make sure that the bowed pieces are aligned and then screw the brackets to straighten the pieces out again. They can be used where 2 planks join together or in the middle of a plank that is bowing out itself.
If the planks on the raised bed are beyond bending back or actually broken, you will need to replace them. The wood will look different since it is new, but it’s better to have a raised bed that holds the soil instead of it falling out through the broken areas. Keeping your raised beds repaired also has a pleasing look to the eye and will have you enjoying going to the garden vs not wanting to look at an eyesore.
Consider Your Raised Bed Location When Repairing a Raised Garden Bed Structure
Things change over time. Trees get taller and create more shade. Sometimes you add more parts to your garden or didn’t think about raised bed placement as much when you first started. (We all are excited to start and sometimes skip those important first steps for garden planning.) If you are already repairing a raised garden bed structure, it’s the perfect time to consider the placement of your raised bed.
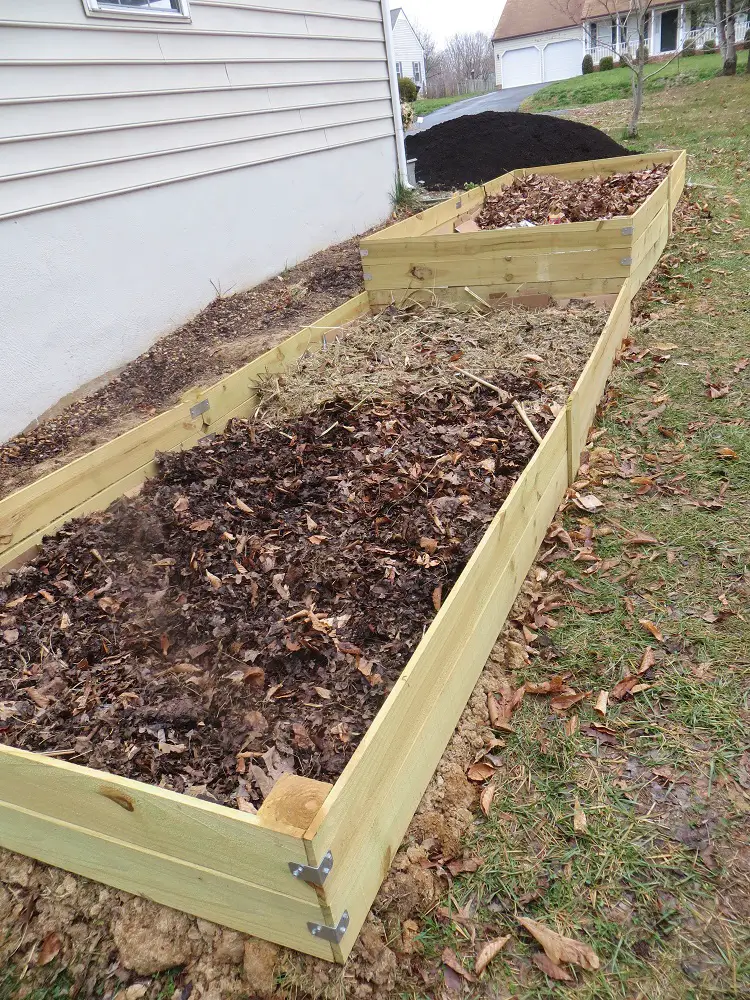
You will want to make sure your raised bed is still getting the sun required to grow the plants and vegetables (approximately six to eight hours a day). If the raised bed is not getting the full sun it needs, it may be time to move the bed location, remove trees, branches, and bushes creating the shade, or simply reserve the bed for plants that require more shade.
Consider Whether You are Using Pressure Treated Lumber When Repairing a Raised Garden Bed Structure
They say some pressure treated woods can last in the ground for up to 40 years depending on the conditions. Think for a moment about how strong a chemical is needed to treat the wood in order to last so long. If your raised garden bed is constructed out of treated lumber (the greenish-looking wood), you need to know that it is possible that it could contain arsenic. This applies to pressure treated lumber sold before 2004 as it was most likely treated with chromated copper arsenate (CCA). This acted as a pesticide to prevent termites and other insects from consuming the wood.
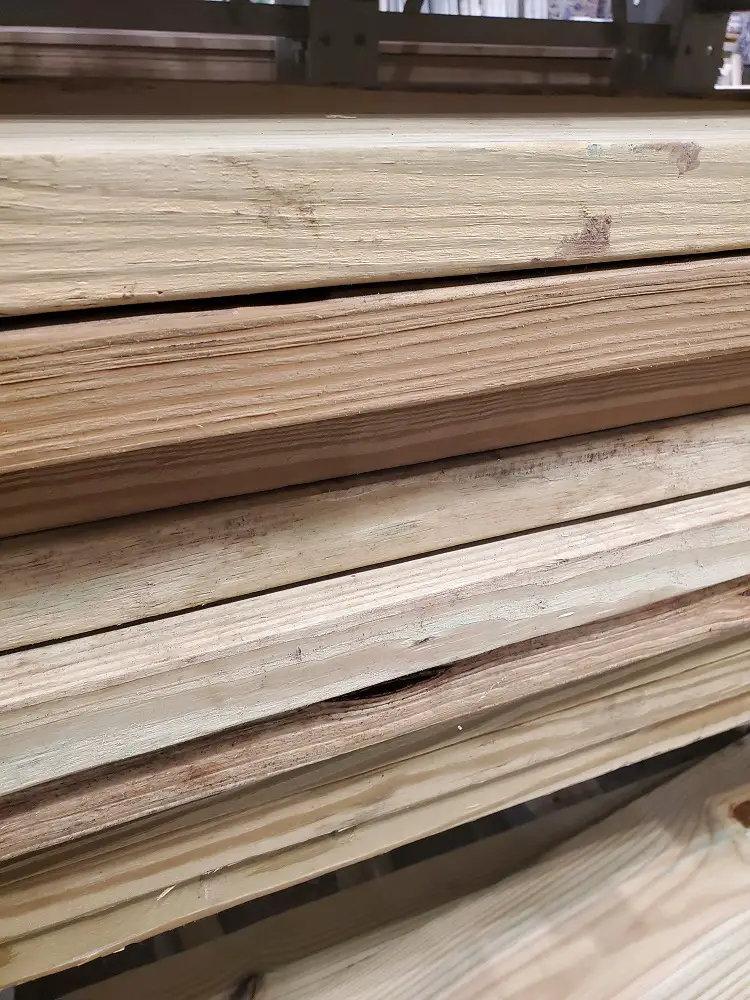
As an additional note: you don’t want to burn pressure treated wood as a means of disposal, because the arsenic can be transferred to the ashes in relatively high concentrations and is something you don’t want to breath in or place back into the soil.
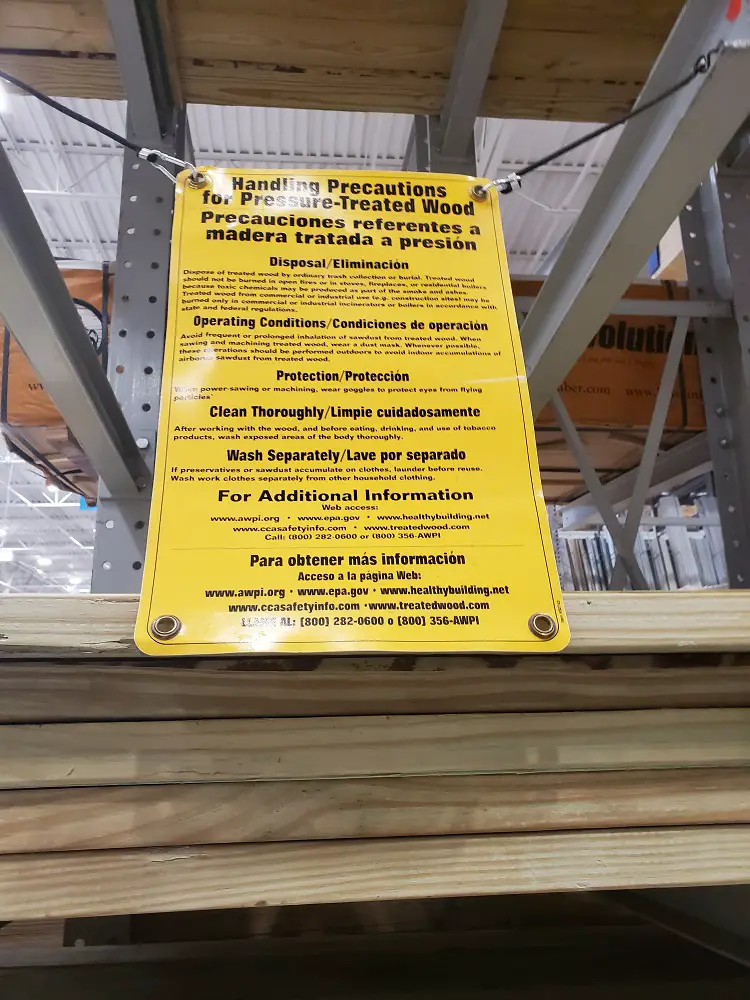
For raised garden beds that are made out of pressure treated lumber, understand that the arsenic and/or pesticides preserving the wood will leach into the soil over time. This also happens with newer pressure treated lumbers; so if you haven’t done so already, it is recommended to place an impervious liner on the inside of the raised garden bed between the wood and the soil. If you are repairing a raised garden bed, this is a great time to add the liner.
A liner should prevent the leaching of chemical preservatives into the very soil you may be using (now or in the future) to grow your own produce. This will require pulling the soil away from the sides of the bed and inserting the liner. If you have had an older raised bed structure with pressure treated lumber and believe the soil needs replaced, go ahead and do so. You can move the soil to an area in the garden where you may never grow produce.
Consider Whether You Will Use Cement/Cinder Blocks When Repairing a Raised Garden Bed Structure
You may have used cement or cinder blocks when you first built your raised garden bed or are considering repairing the current structure with them. They can be great to use because they may last longer than wood and there are different styles, colors, and sizes to choose. There are few things to keep in mind going this route when repairing a raised garden bed structure.
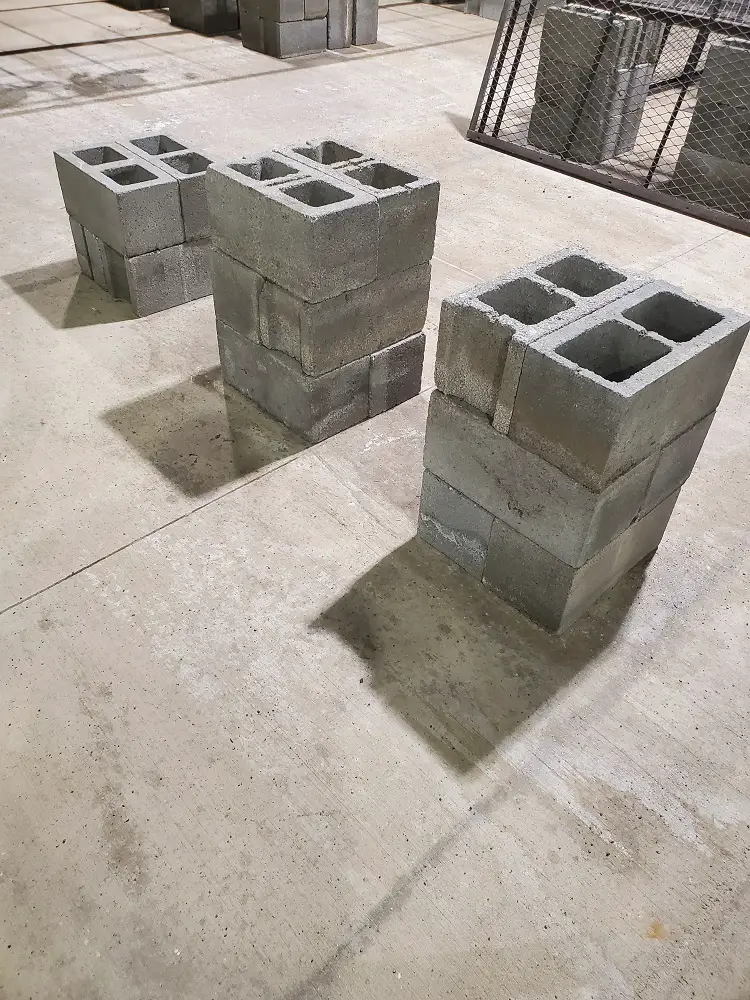
If your raised bed is made out of cement or cinder blocks, be mindful that they may contain toxic contaminants depending on who you ask. One particular contaminant to be mindful of is fly ash. It is added to supplement hardened concrete for improving it’s workability, strength and durability. However, the problem with fly ash is that it contains heavy metals and other hazardous waste and is the byproduct created from power plants that burn coal.
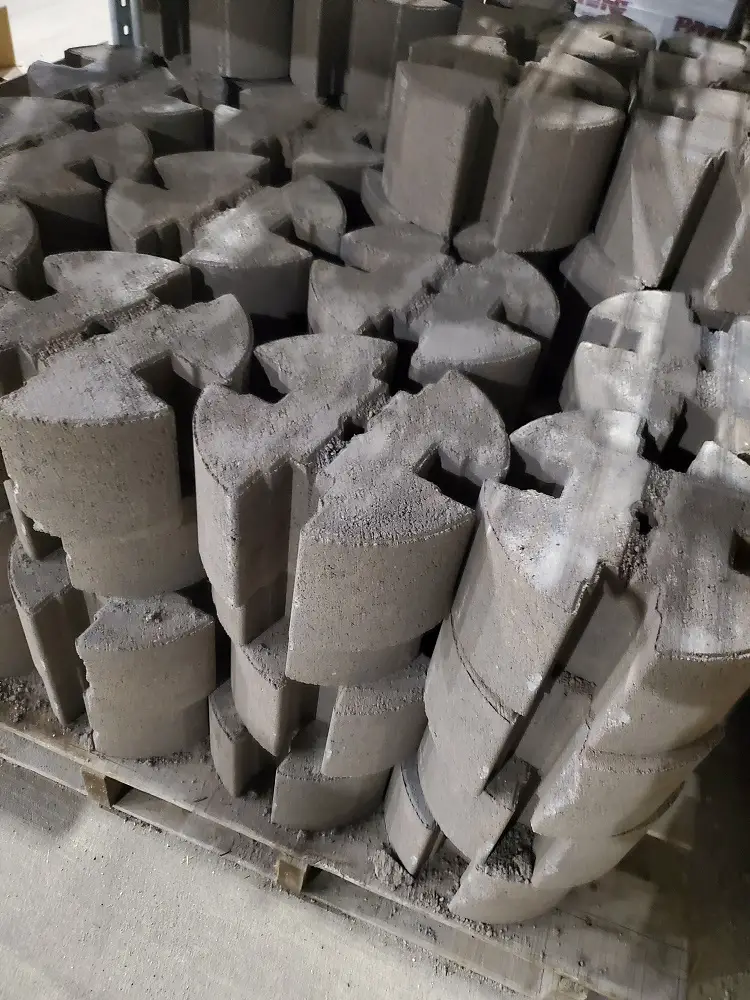
And like pressure treated lumber, you should consider an impervious liner on the inside of the raised garden bed between the cement and the soil. This should prevent the leaching of fly ash contaminants into the very soil you may be using (now or in the future) to grow your own produce.
Consider Whether You Need to Paint and Seal Your Raised Garden Bed Structure with Top Coat
Most people prefer the natural wood look provided by structures made out of lumber. However, it is optional to paint the wood in a raised bed structure as you prepare for spring. You will want to consider using acrylic or chalk paint as they are water based, lead free, and non-toxic. Always consider toxicity when dealing with the part of your garden where you will be growing food.
Using other paints such as latex (interior/exterior) or oil based paints may also present a problem because they may contain ammonia, acetone, mercury or formaldehyde and can leach into the soil. If using these toxic paints, you will want to use an impervious liner between the soil and the wood as you would for a bed made out of pressure treated lumber. This will prevent chemical agents from leaching into the same soil that you will be growing your produce out of.
If you do choose to paint, you can paint the outside of the bed along with the interior pieces of the raised bed that are closest to the top and will not be covered by soil. Be sure to clean the wood surfaces of any dirt before painting. When you are done painting, it is recommended to seal it with a protective top coat to extend the life of the wood even further. There are a number of non-toxic wood treatment and water proofing agents out there to consider.
Consider Whether You Need a Tree Root Barrier When Repairing a Raised Garden Bed Structure
If you have trees growing in close proximity to your raised beds, you may need to repair damage caused by large tree roots. Tree roots in a raised bed will make managing the soil difficult as they proliferate from underneath. There is nothing more annoying than chopping up tree roots in when repairing a raised garden bed for spring plantings.
Tree roots can also damage and move the bed itself overtime if not addressed early. They can gradually push the structure up from underneath causing the raised bed to bow upward in spots. If you’ve ever seen large trees growing in close proximity to sidewalks, you may have noticed a spot where the cement sidewalk is literally bowing upwards from the pressure caused from the roots growing below.
In this case, you will want to use a tree root barrier with your raised garden bed. You may choose to surround the entire bed with tree root barrier if the bed is surrounded by trees, or you may only need to put tree root barrier down along those sides in the raised garden bed facing the trees. Tree root barriers involve digging a trench along the sides of your raised garden bed 3″ to 4″ wide by 24″ to 36″ deep depending on the panels used. If you encounter any major roots while digging the trench, you will need to hack at them before placing the barrier into the trench.
You will also want to leave maybe an inch of root barrier above ground level to address any surface roots that might be present now or in the future. With a barrier in place, tree roots will then be deflected safely from the raised bed in the future.
Consider Whether You Need to Repair or Replace Any Trellis and Fence Structures When Repairing a Raised Garden Bed Structure
When repairing raised bed structures for spring, also consider the condition of trellis structures currently in place or if new structures need to be in installed by spring.
If you currently don’t have a trellis structure in place, be mindful that there are a number of interesting trellis structure designs that include chicken wire, cattle panel, bamboo, pipes (galvanized and PVC), wood lattice, twine, netting, tomato cages, panacea wire frames, and “A” frames. Trellis and fence structures help vining plants such as cucumber, pole beans, tomatoes, black raspberries and gourds grow upwards. Trellis structures don’t need to be limited to just vegetables, as flowering plants such as morning glories, wisteria, and clematis can use a good trellis structure to make the garden beautiful.
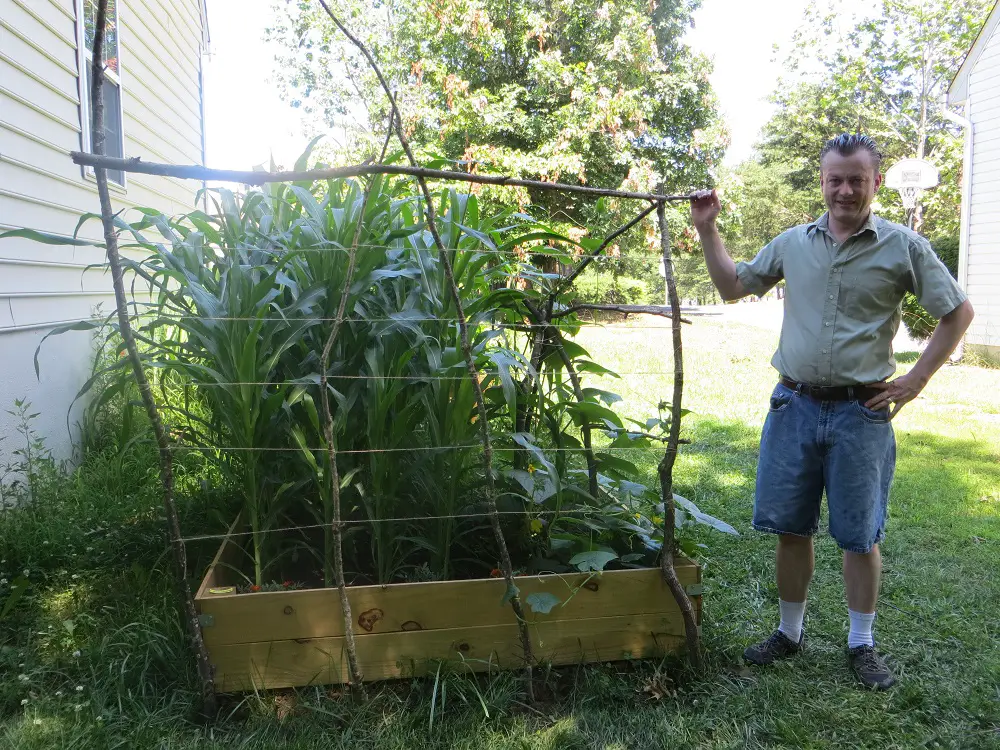
If properly positioned on the north side of the raised bed, they can provide additional space for ground-dwelling plants that require a little sun as well. Some trellis structures can be bent into arch-ways between beds or within beds and become an interesting feature in the garden. Trellis structures may also provide shade for cooler, shade-loving plants such as Barassicas (Spinach, Kale, Broccoli, Cauliflower) and Hostas. If you plan to grow any of these plants in your raised garden beds for the upcoming year, consider upgrading or installing a trellis / fence structure when repairing a raised garden bed structure.
Be sure these structures are in place prior to planting to reduce soil compaction while installing and to ensure other plants that are growing won’t be trampled in the process. If using a trellis structure from the previous season, it is optional to pull off any dead vines that may have accumulated. Be sure that they are dead (most vegetable vines) and not just dormant (e.g., clematis).
Final Thoughts
In this post The Grow Monster presented a number of factors to consider when repairing a raised garden bed structure. Raised garden beds are similar to cars in that they need routine maintenance and checkups over time. Sometimes there are recalls and what is currently installed needs to be replaced with something newer, better, safer than what came before it.
It is also important to get these repairs planned in the fall and winter so that by the time spring rolls around, you will be able to focus entirely on the plants and seeds that will be going into the raised garden bed. You don’t want to be out past that last frost date repairing raised garden beds when you should be enjoying time with the family putting seeds and plants in the ground.

